

Paul Lee, comic artist and LEGO fan, was kind enough to post a quick guide to photographing MOCs to our WBI Facebook group. For those new to the practice, we thought it would be a good idea to share them here, too. Thanks, Paul!
Lighting
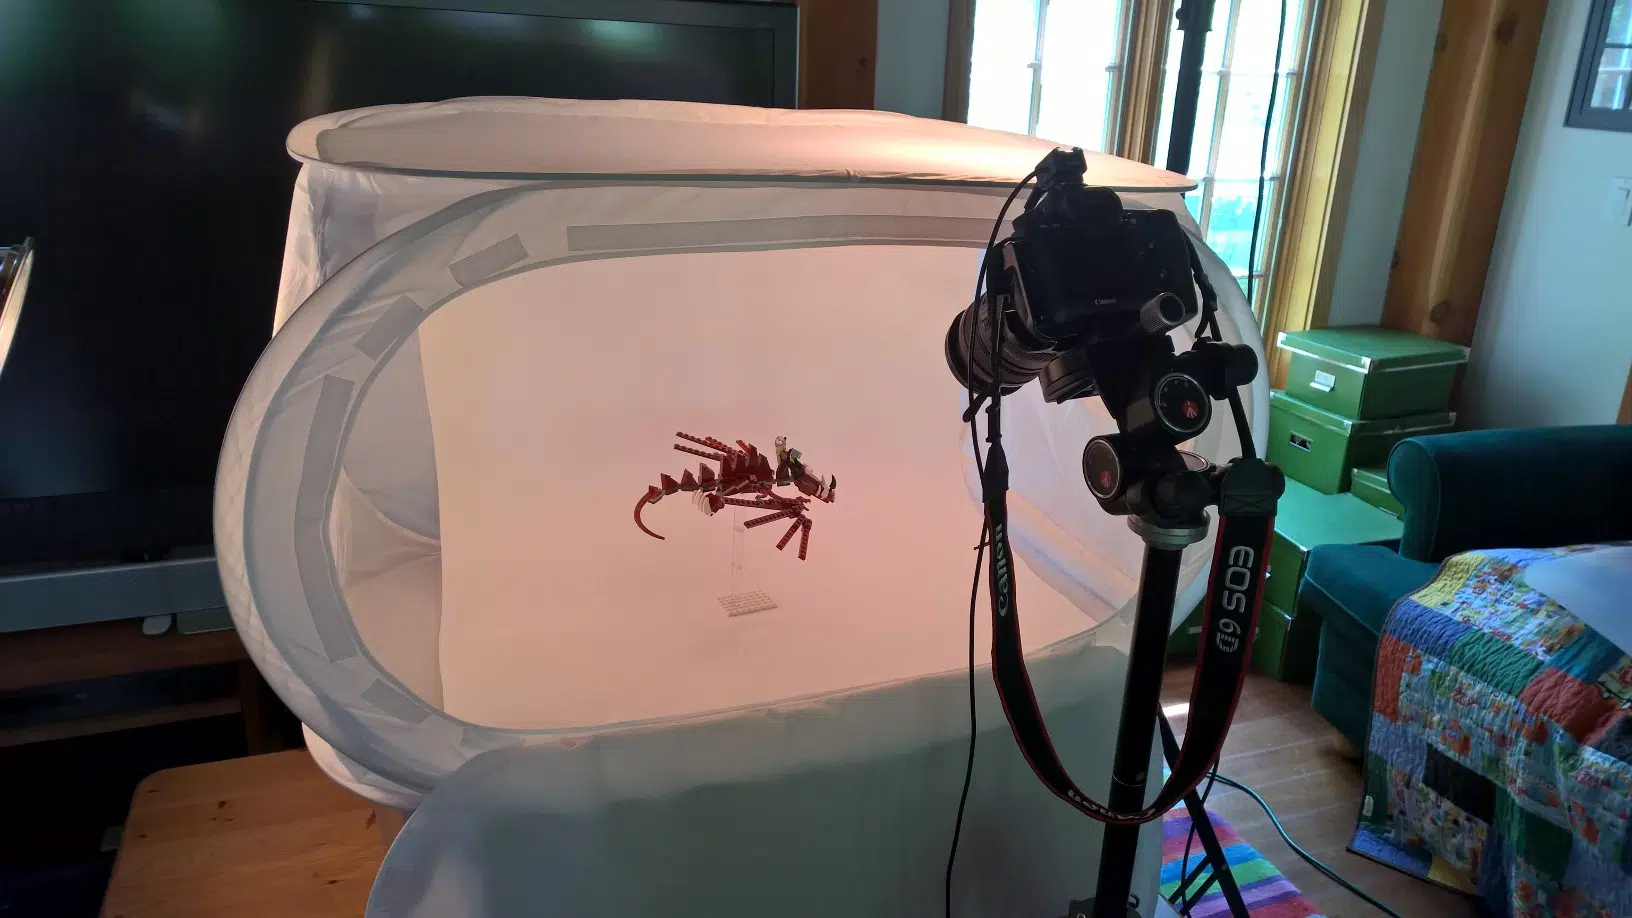
The key to good product photography is good lighting. Ideally, you need at least two light sources one from the front left and one from the front right (3 would be better with the 3rd from above).
Diffused lighting is better than direct lighting. Direct light, like sunlight or a light shining straight onto an object causes hard shadows which as a rule, are not as aesthetically pleasing to the eye. Avoid direct light sources if possible. Use a diffuser. Tracing paper works good and is cheap. You cover the the light source with tracing paper and the paper will diffuse the light. Other things that will work are drafting vellum, gauze. Anything that scatters direct light. Be careful about the diffuser getting too close to the bulb. Bulbs that generate heat could burn the diffuser.
Backgrounds
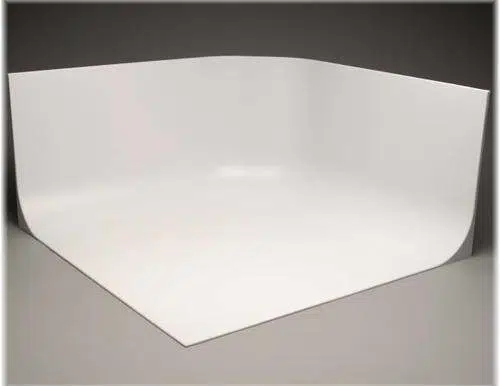
Neutral backgrounds are better than busy backgrounds. Neutral backgrounds let the viewer focus on the MOC. Photographers use many things as neutral backgrounds, including backdrops or seamless cyclodramas pictured here. Depending on the size of your MOC and your budget, poster board is often a cheap and effective option.
Never use baseplates as a background. They don’t look good as backgrounds and are far too busy and distracting to the eye.
White is a good default color to use as a background but any solid neutral color would do. Favor grays or black as opposed to bright colors as bright colors will compete with the colors in your MOC. The goal is for people to see your MOC, not the background.
Cameras
Today’s smartphones are often good enough cameras for shooting mocs. Depending on the size of the moc, macro lenses or macro focusing become important for medium to small scale MOCs. Macro lenses allow you to focus onto smaller details that are harder for ordinary lenses to focus on. If you have a fancy camera, or are in the market for a camera or a phone, look at the macro focus information to determine if it suits your needs.
Post-editing
4) Lastly, and most importantly, post editing. Many people are in such a rush to post their photos, they skip this step. Always run your photo through some editing software to edit your photo. Most phone camera apps already contain editing options within the app. There are also some 3rd party apps that can be used. Photoshop is one of the better known applications, but it can be pricey for non professionals. There are many cheap or free photo editing applications online. Often, your camera brand offers photo editing services through their site.
When editing the photos, here are the key things to be aware of:
- Fix lighting: If the lighting is too dark or too bright, you can do a little fixing of that playing with the brightness and contrast levels.
- Color temperature: Lights often cast color shifts to an image. Incandescent Lights cast a warm yellowish tint, flourescents cast a green tint. Make sure to adjust the color of the photo to compensate for lighting shifts so that the photo represents the colors of your moc as accurately as you can.
- Crop: Crop the photo to a scale that best features your image. Having too much or too little background can lessen the impact and appeal of your image.
- Correct any blemishes: Most editing software has option that let you remove small blemishes like errant dust or hairs that might wind up in the photo. This is also the time you can erase seams in the backdrop. Or erase parts in the background the backdrop wasn’t big enough to cover. Using white as a neutral background is useful in this case, because you can erase unwanted background details to white.
Paul concludes:
These are general rules of thumb for good moc photography. Taking the time and effort to make good photos makes a huge difference in the likelihood your creation gets blogged.
I had a friend who as a very good builder of LEGO cars, but he rarely got blogged. He came to me, upset, believing that the reason he never got blogged was a personal one. That somehow he had offended the blogging gods.
I looked at his photos and I knew right off the issue. He took no care with his photography. He had concluded he wasn’t a photographer and didn’t even try. His photos were quick, out of focus snap shots with busy backgrounds and no editing. They were not good looking photos.
Human nature being what it is, we respond to pretty things and don’t respond to unaesthetic things. I told him to do better photography. So he had a friend who was a better photographer shoot photos of his next build. It was instantly blogged. It really is that simple.
Making your photos look good only require a little extra effort, but the results are worth it. I hope this is helpful.
Here are a couple of free utilities you might find useful for editing your photographs:
Paint.net – a free and comprehensive image and photo editing software for Windows PCs. Don’t let the early 1990s-style website fool you – for most people this has everything you need to make good photos great.
Background remover tool from Adobe – quick and easy background remover. If it doesn’t get everything, you can open it back up in Paint.net and remove the remaining pixels yourself.